
This tutorial will guide you through setting up a Google Cloud project. If you use a previously unused payment method on a new account (Gmail or Google Workspace), you will get a one-year trial version with $300 credit that will allow you to fully test the tool. Recently, Google Cloud has been growing in popularity as an ideal cloud solution in the digital analytics field, primarily because of the ability to export data from GA4 to Big Query even for standard accounts.
Creating a Google Cloud Project
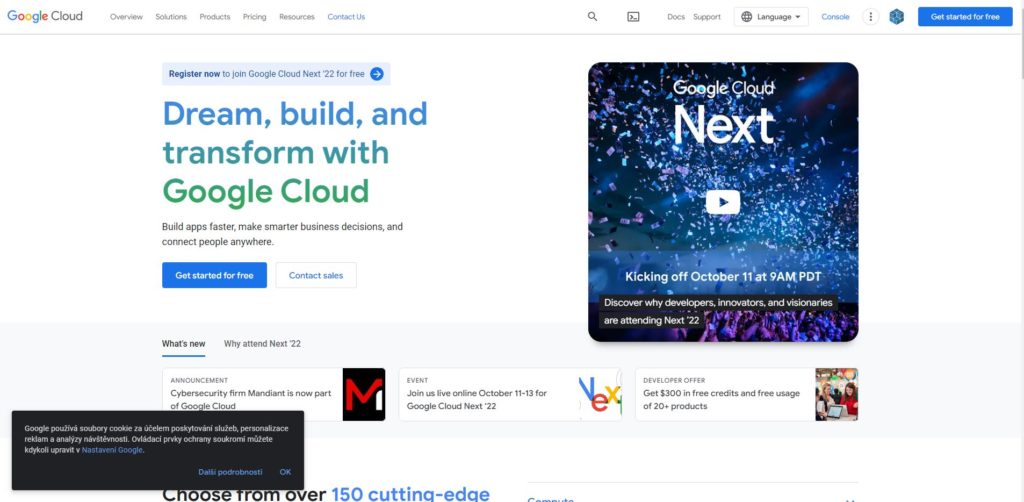
1. Go to cloud.google.com
Click on the link: cloud.google.com and when it appears, click on “Get started for free” in the top right corner.
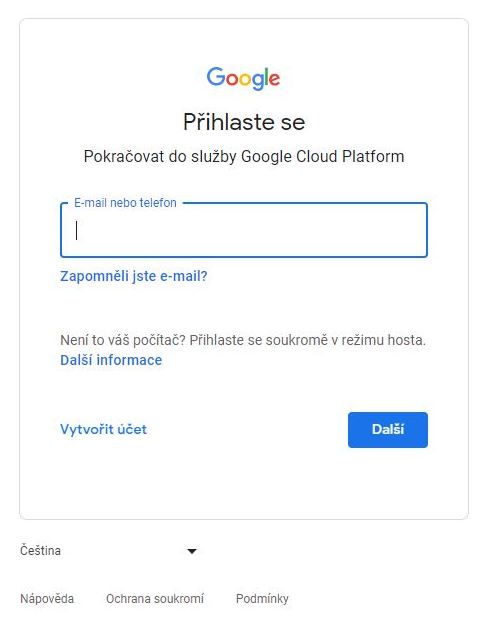
2. Sign in Google Cloud Project
The next step is to sign in to your Gmail/Google Workspace account. If you don’t have one, you’ll need to set one up.
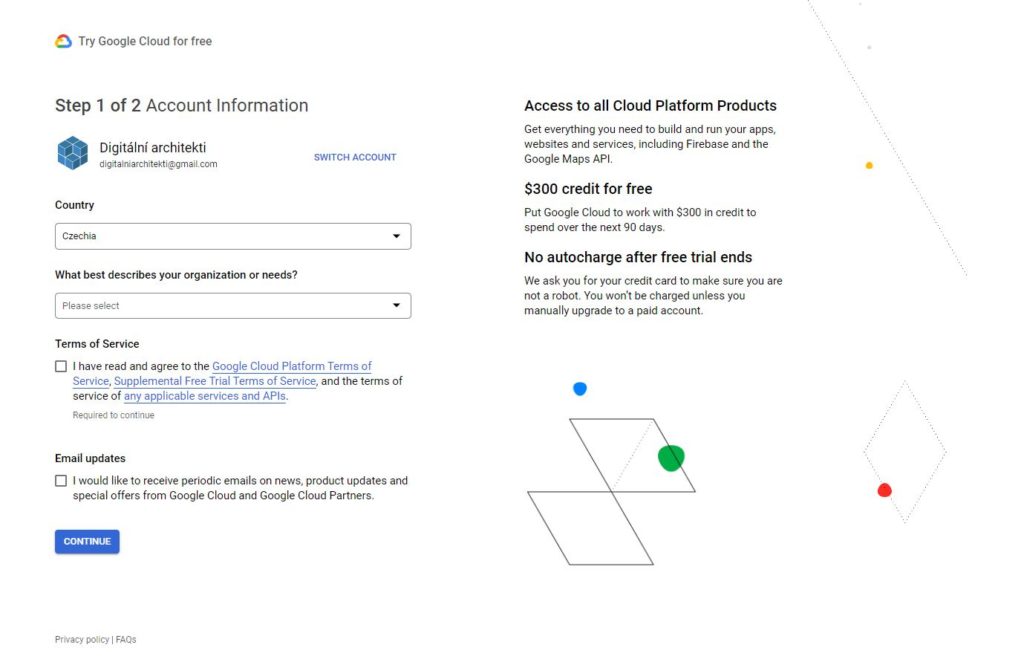
3. Select your country and confirm your consent
Use Large organization if you are initializing Google Cloud within your Google Workspace environment or if you want to create proper Cloud Identity in Google Cloud Platform.
Select Personal project, if you are creating a playground enviroment for personal website as its easier to create and does not require work email.
You must then agree to the terms and conditions.
4. Enter your address
Select the Account type and fill in your address. In the case of an individual account, fill in your address. In the case of a business account, enter your company address.
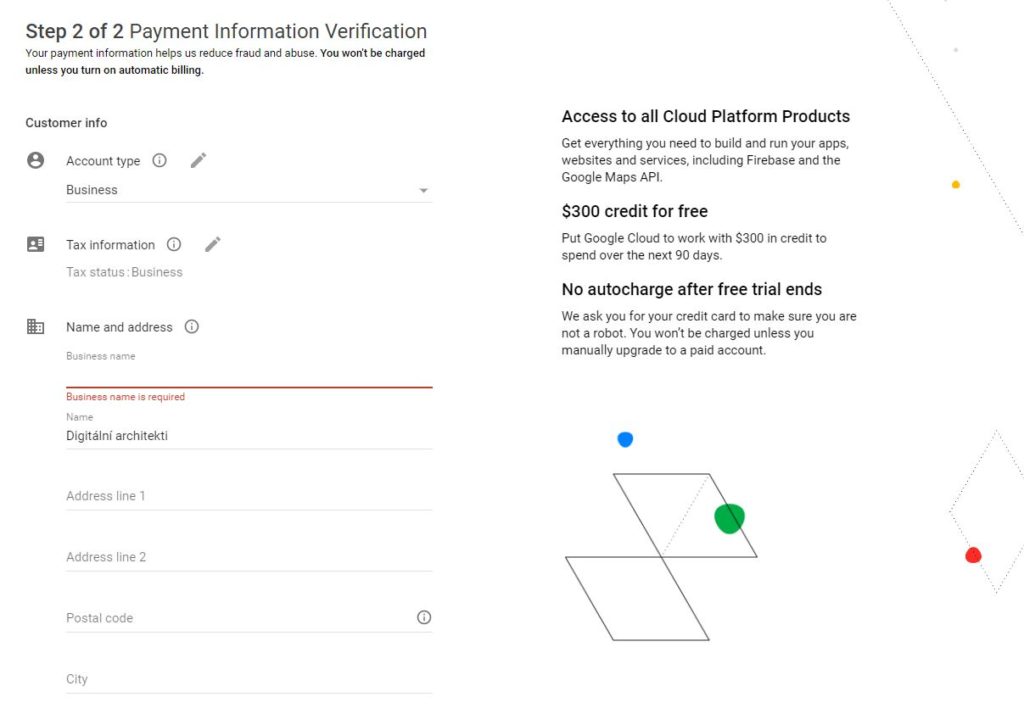
5. Payment method
Here you need to fill in the details of the payment card (individual or business). Both credit and debit cards can be used. The details are kept for future expenses.
Then click on “Start my free trial“.

6. You got a $300 credit
Google Cloud Platform now has a free $300 credit to use over the next 12 months.
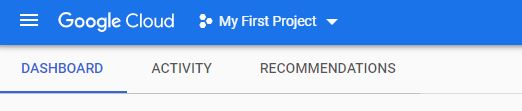
You’ll automatically get My First Project, which we recommend you ignore and start a new project. The main reason is that although you can change the name of the project but you can no longer change the project ID, which is often used in various apps to connect to the project.

7. Creating a new Google Cloud Project
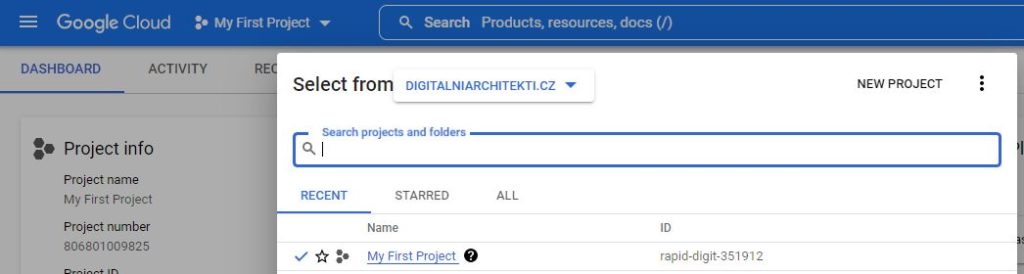
To create a new project, click on “My First Project” at the top of the page.
8. Click on “New Project”
Click on “New project” in the upper right corner.
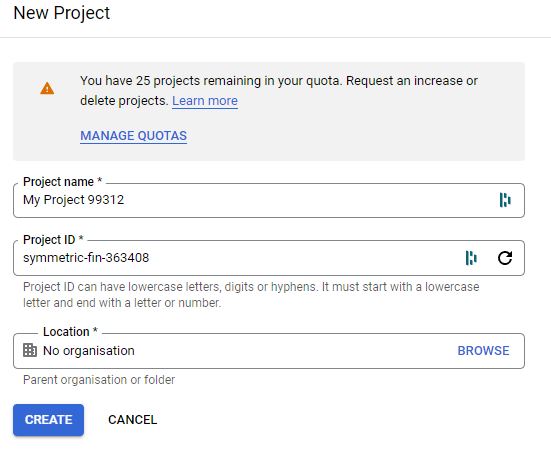
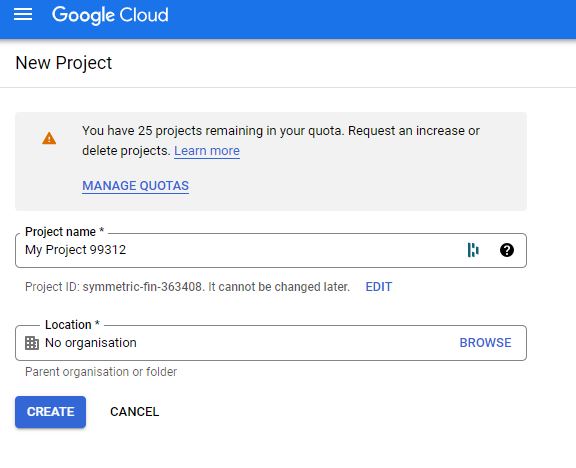
9. Name and create a Google Cloud Project
Enter a name for the project in the “Project name” field.
Don’t forget to change the project ID! For example, you can choose the name of your organization e.g. architex.
Alternatively, add a meaningful “call sign specifying the scope of the project” e.g. archetix-dwh (data warehouse); archetix-ga4; archetix-data; archetix-app; archetix-web or numbering archetix-01 -02 etc.
Click on the CREATE button at the bottom. Your new project will be ready in approximately 30 seconds.
Change the Google Cloud Project name
For projects you can change their visible names, but unfortunately not the project ID, so choose these appropriately when you create the project.
To change the name, follow the steps below.
1. Click on the Google Cloud Project
Click on a project at the top of the page to see a list of projects.
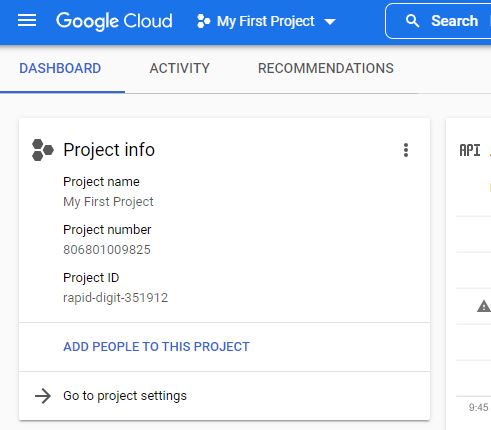
2. Go to the project settings
Click on the project to be taken to the project home page, click on “Go to project settings”.
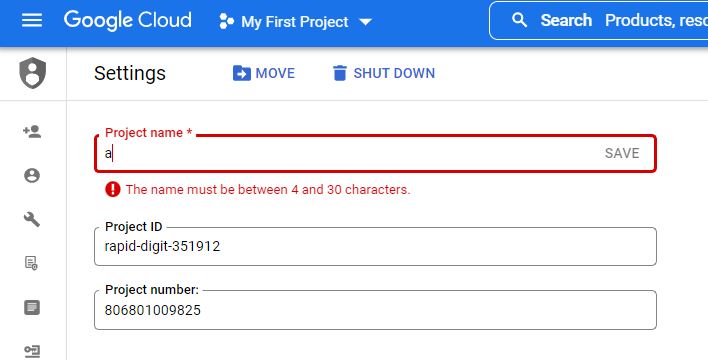
3. New name
Enter a new name in the box and click on “Save”.
Add access to the Google Cloud Project and datasets
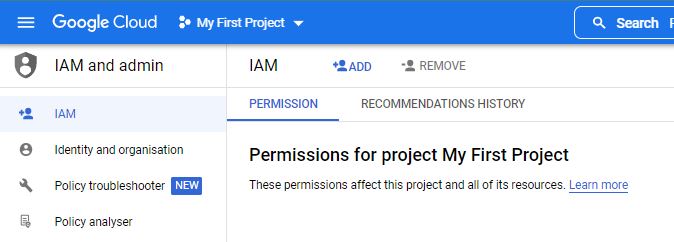
1. Click on Permissions
This will take you to the same place as for changing the project name. That means click on the project and this will take you to the project home page, click on “Go to project settings”.
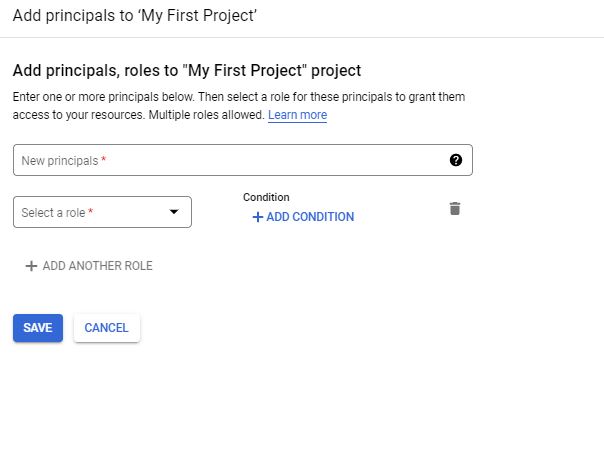
Click on IAM on the left and click on Add.
2. Enter the email and user role
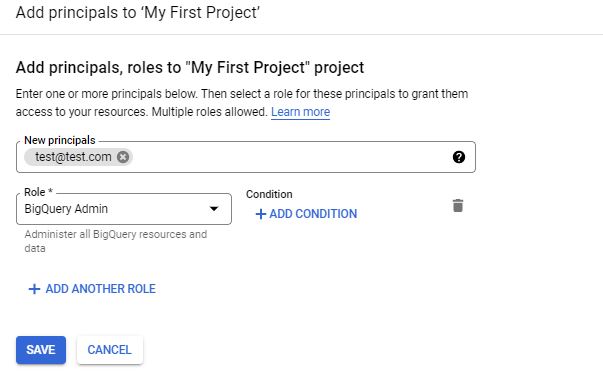
In add access, enter the person’s email in new principals and select a role.
For complete analyst access to Big Query, we will select the BigQuery Admin role. This will allow us to fully work with the data, scheduled queries and modification and creation of datasets.
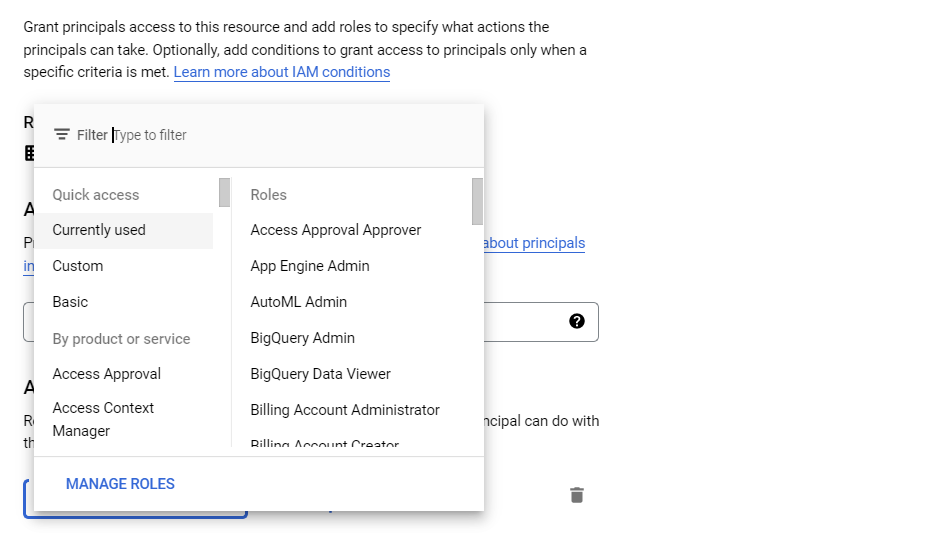
3. Access options
If you want to assign only partial rights to users, or have more control over the rights for specific groups of users, we recommend creating Custom roles and assigning the following permissions.
We recommend two custom roles, one Custom Big Query User Level 1, which allows the user to only view data, and Custom Big Query User Level 2, which allows the user to fully interact with Big Query and the connected resources (Jobs, Saved Queries, Buckets, Transfers).
While these groups add more privileges to users for us, they better reflect common analytical practice where there are typically two user groups. Those who only view the database and those who fully edit it. However, in Google Cloud Roles, editing involves the intersection of dozens of roles, so it’s better to create custom roles and then only debug specific permissions.
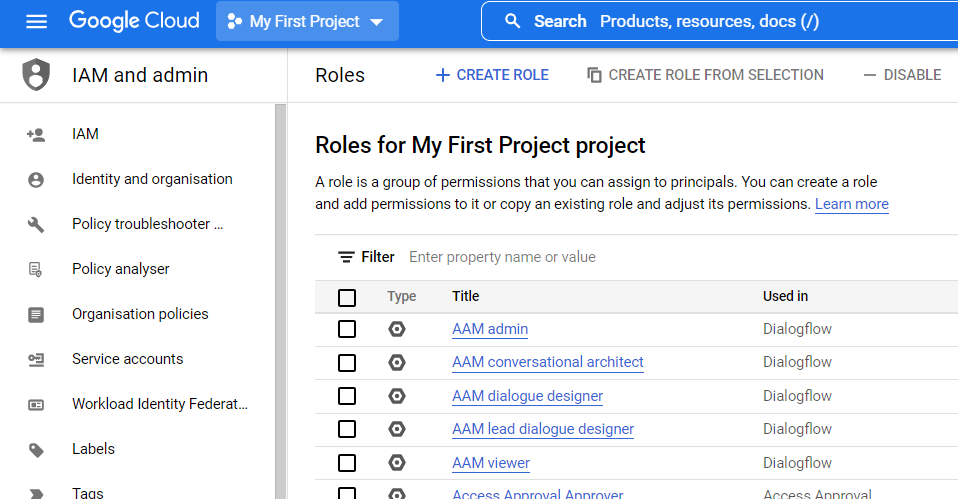
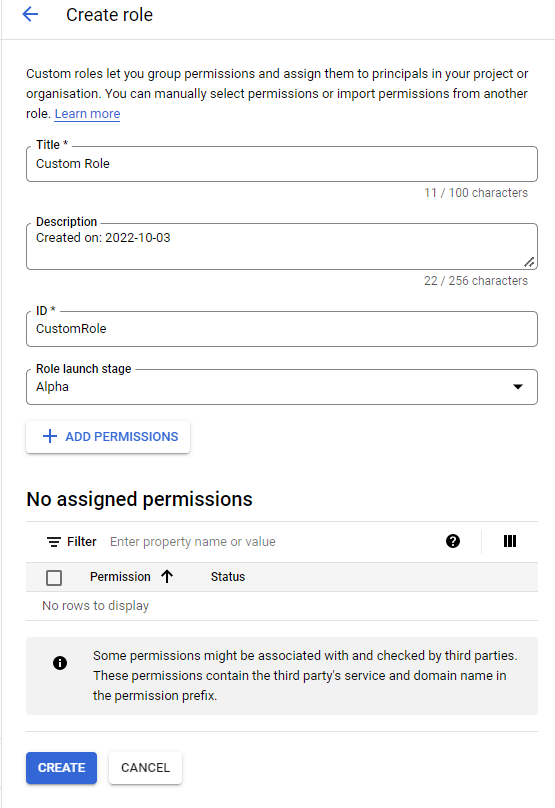
4. Creating a custom role
When adding a user, click on “Manage Roles“.
This will then take you to the interface for editing roles at the project level, if you are using an organization you can make this edit at the organization level (you must switch to the organization via the project switcher). Click on “Create role“.
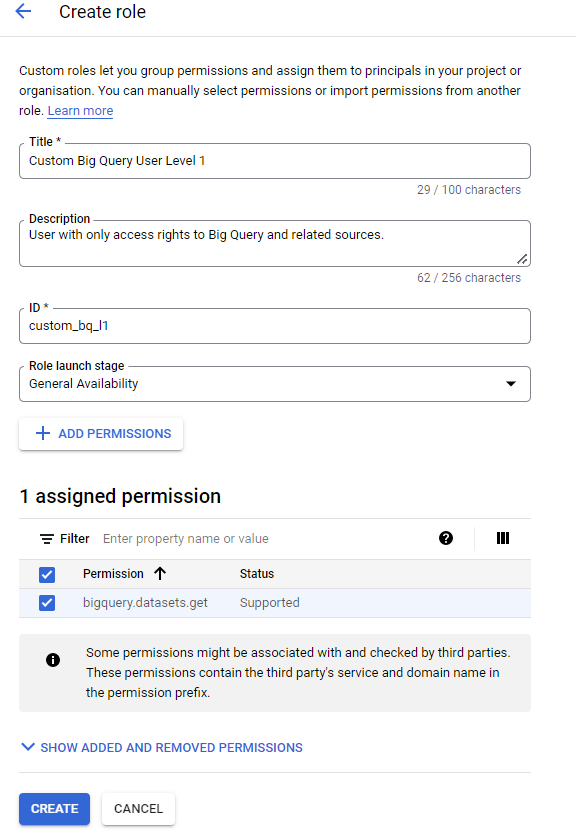
You then fill in the required information.
For instance, according to this example.
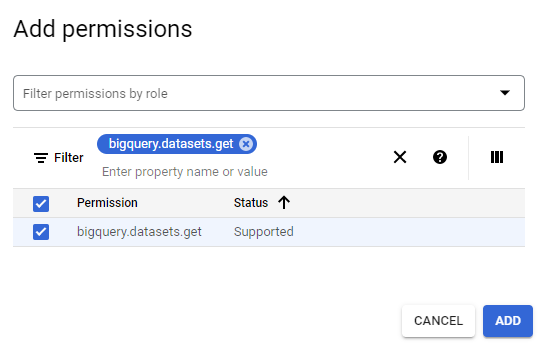
Click on the + Add permissions button and add the appropriate permissions for the custom roles listed below, or create your own roles and permission sets.
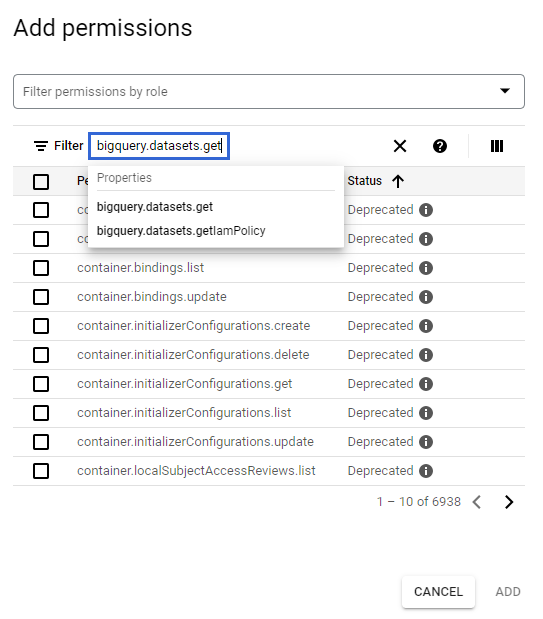
Then click on the “ADD” button.
You can then continue from step one and add the custom role to the user.
Sample permissions for Custom Big Query User Level 1
bigquery.datasets.get
bigquery.jobs.create
bigquery.tables.get
bigquery.tables.getData
bigquery.tables.list
resourcemanager.projects.get
Sample permissions for Custom Big Query User Level 2:
You can start from the role (Big Query Developer) or manually select all the permissions below
bigquery.connections.create
bigquery.connections.delete
bigquery.connections.get
bigquery.connections.getIamPolicy
bigquery.connections.list
bigquery.connections.update
bigquery.connections.use
bigquery.datasets.create
bigquery.datasets.delete
bigquery.datasets.get
bigquery.datasets.getIamPolicy
bigquery.datasets.update
bigquery.datasets.updateTag
bigquery.jobs.create
bigquery.jobs.get
bigquery.jobs.list
bigquery.jobs.listAll
bigquery.jobs.update
bigquery.routines.create
bigquery.routines.delete
bigquery.routines.get
bigquery.savedqueries.update
bigquery.routines.list
bigquery.routines.update
bigquery.savedqueries.create
bigquery.savedqueries.delete
bigquery.savedqueries.get
bigquery.savedqueries.list
bigquery.tables.create
bigquery.tables.delete
bigquery.tables.export
bigquery.tables.get
bigquery.tables.getData
bigquery.tables.list
bigquery.tables.setCategory
bigquery.tables.update
bigquery.tables.updateData
bigquery.tables.updateTag
bigquery.transfers.get
bigquery.transfers.update
resourcemanager.projects.get
storage.buckets.create
storage.buckets.delete
storage.buckets.get
storage.buckets.list